
Start with requirements, not products
The temptation when designing an office network is to start from a switch model. The reliable method starts a step earlier, with requirements: how many people and devices, what kinds of traffic, which physical spaces, and how the business expects to grow. Every hardware decision then follows from those answers rather than from a catalogue.
This guide walks through the design in the order a specification is normally built: requirements, segmentation, switching, wireless, the internet edge, and headroom. Done in this order, the design converges on the right equipment for a network of roughly 50–300 users — the range most offices sit in — while staying valid for smaller or larger sites.
1. Gather the requirements
List everything that will connect and how it behaves. A typical office network carries far more than laptops.
- End devices: computers, laptops, printers.
- Voice: IP phones, which want their own VLAN and priority.
- Wireless: access points, which need PoE and backhaul.
- Security: IP cameras and door controllers, which need PoE and isolation.
- Growth: expected headcount over the equipment's life.
Count devices, not people
Device counts run two to three times headcount once phones, cameras, and wireless clients are included. Designing to headcount alone under-sizes both the switching and the wireless.
2. Plan segmentation first
Before choosing switches, decide how traffic will be separated. VLANs are the mechanism, and planning them up front is far cheaper than retrofitting segmentation onto a flat, occupied network.
A common office plan puts staff, voice, guest, and CCTV on separate VLANs. That keeps a compromised guest device off the corporate network, contains broadcast storms, and lets each traffic type be prioritised and monitored. Because VLANs require managed switches, this decision also settles that the access layer will be managed.
3. Size the switching layer
With devices counted and VLANs planned, size the switches. Three decisions matter: port count with headroom, PoE budget, and uplinks.
Ports and PoE
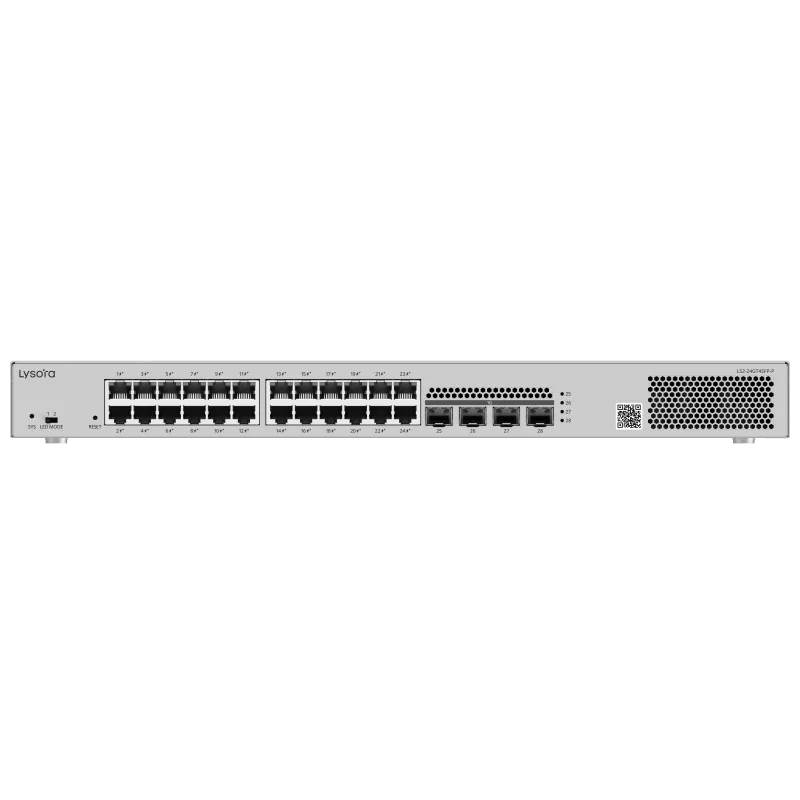
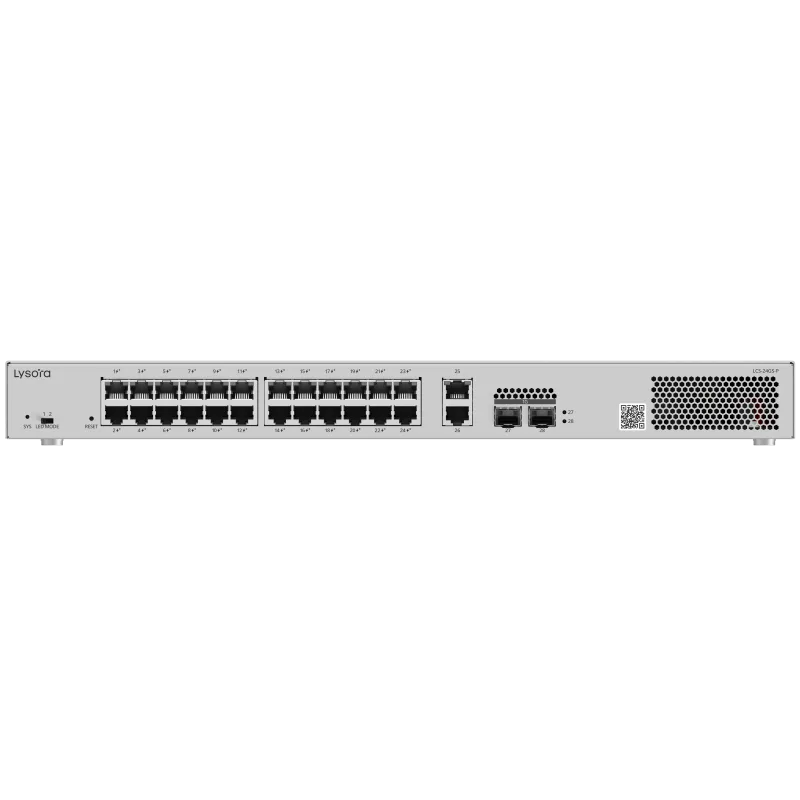
Add 20–25% spare ports for moves and growth. Where cameras and access points need power, size the PoE budget on the combined real draw of every powered device — the total budget, not the port count, is the limit. In the Lysora range the LS2-24GT4SFP-P and the LCS PoE series cover standard office closets; the LS2-48GT4SFP-P suits larger floors.
Uplinks between closets
Fibre SFP uplinks tie closets back to a central switch beyond the 100 m copper limit and avoid uplink congestion. Where Wi-Fi 7 access points are in scope, plan multi-gig access and 10G uplinks so the wired layer is not the ceiling.
4. Design the wireless
Plan access points for client density, not coverage radius — more access points at lower power beats fewer at maximum power. Place them for the densest spaces (meeting rooms, open-plan clusters) rather than for empty-corridor coverage.
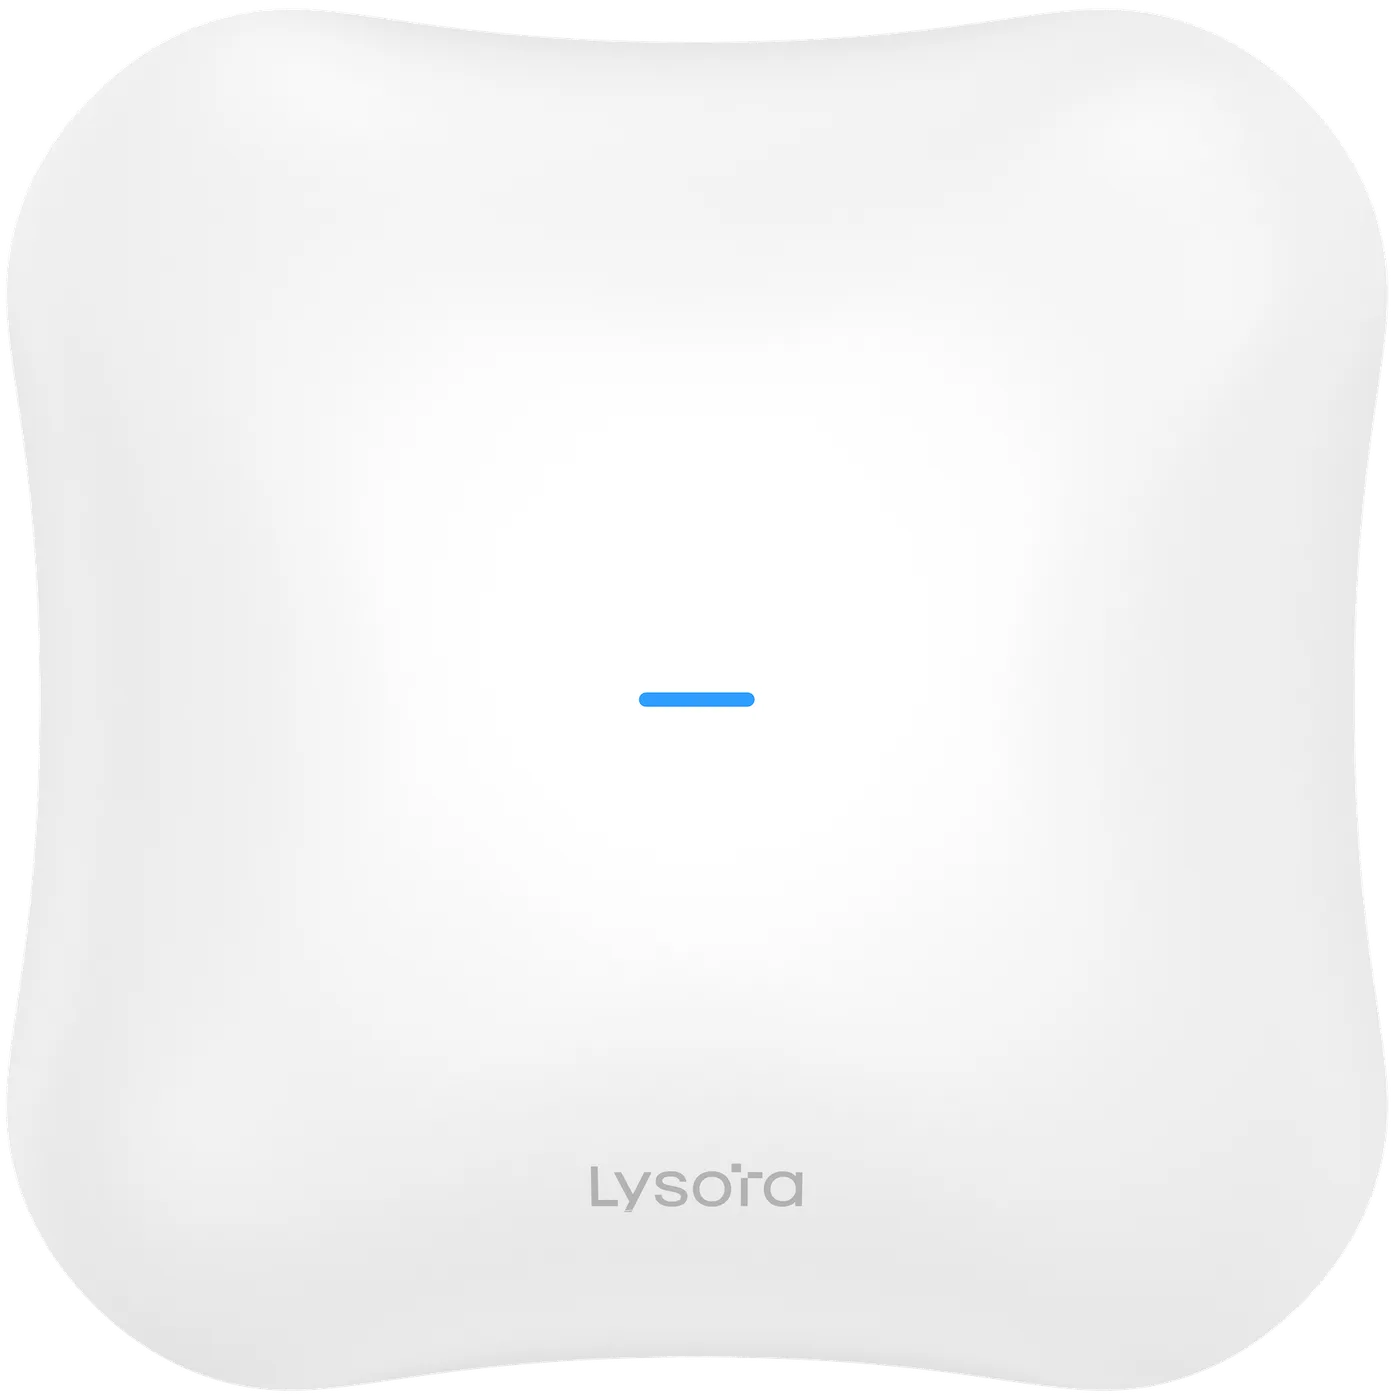
Most enterprise access points are PoE+ loads, so their power comes from the switch budget you sized in step three. Enable assisted roaming (802.11k/v/r) so staff move between access points on calls without dropping. The Lysora L7 (Wi-Fi 7) and L6 (Wi-Fi 6) families cover the mainstream office; choose the generation to match client devices and whether the switching supports multi-gig backhaul.
5. Choose the internet edge
The router or firewall at the internet edge routes between VLANs (in the common Layer 2 design), terminates the WAN, and handles security. Size it to the user count and the number of WAN links.
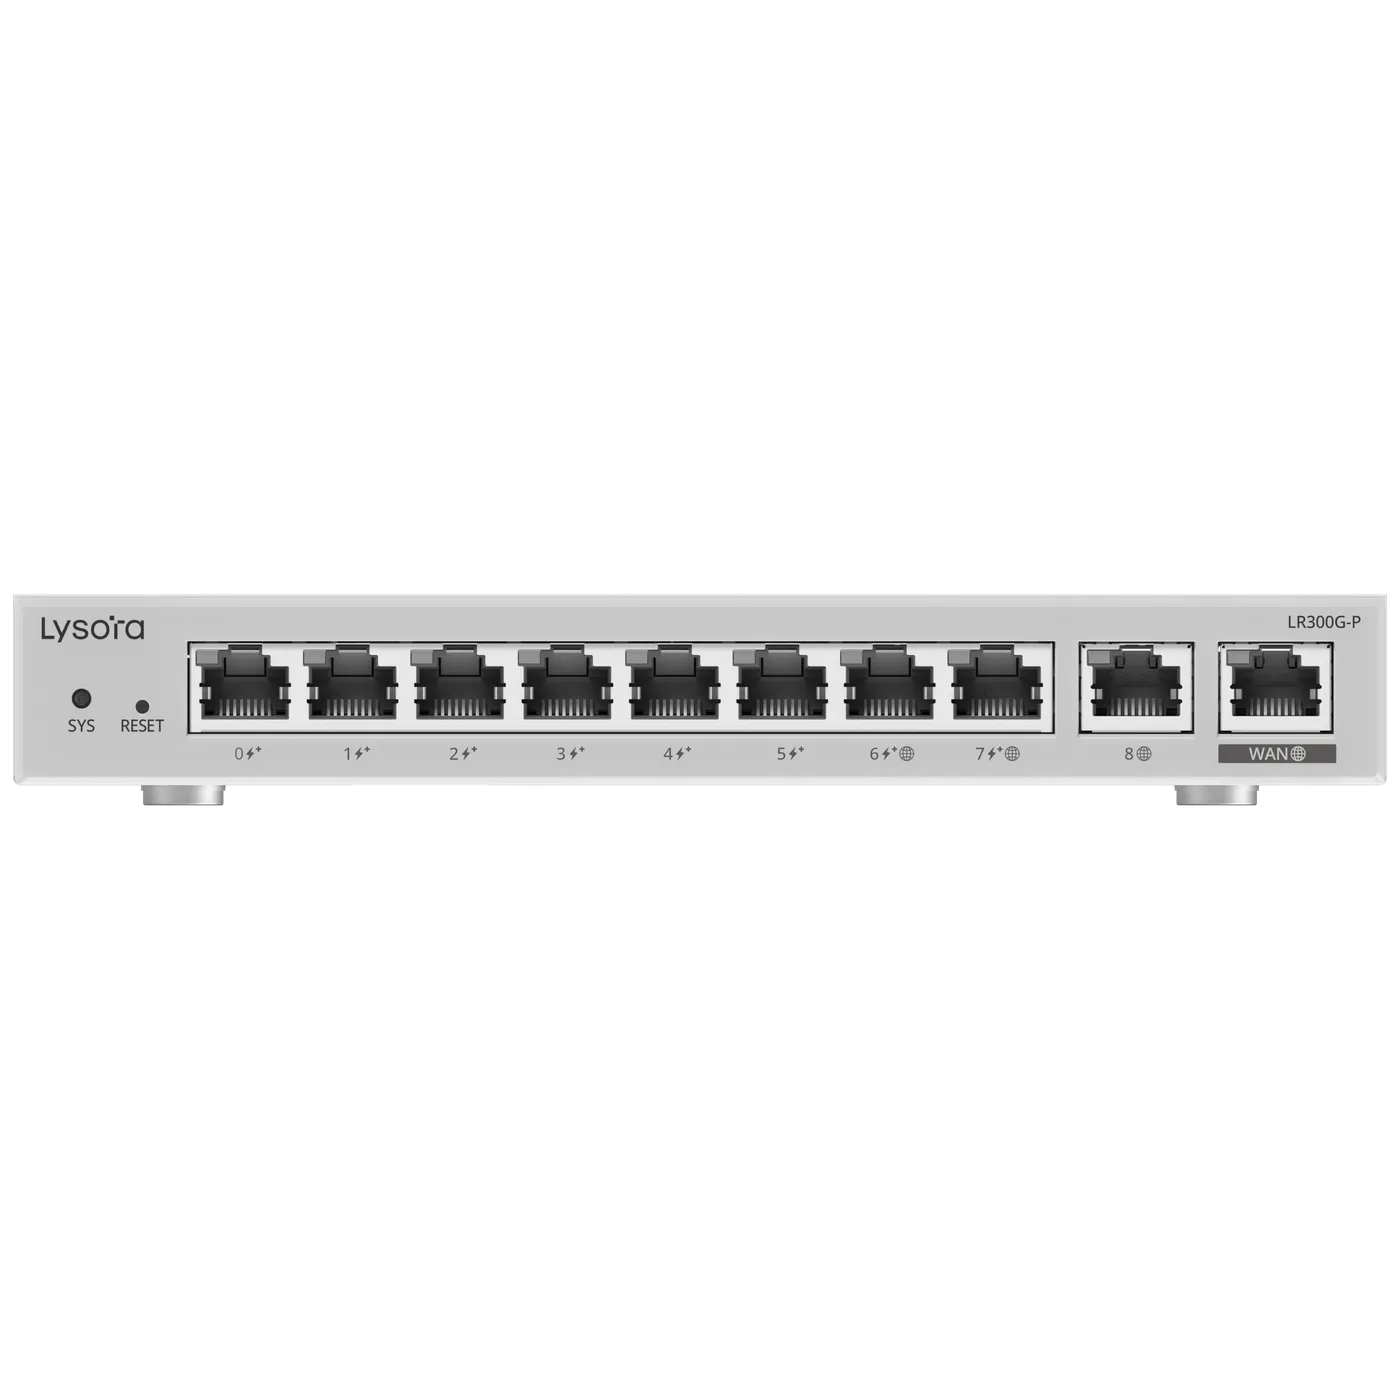
For compact offices, a router with integrated PoE can consolidate the gateway and a small edge switch into one unit — the Lysora LR300G-P is an example, combining routing with PoE ports. Larger offices separate the roles: a dedicated router or firewall at the edge, and managed switches for the access layer.
6. Build in headroom
The final discipline is to leave room to grow. Spare switch ports, spare uplink capacity, and a fibre plant with spare strands all cost far less up front than re-cabling an occupied office later. A network designed with 20–25% headroom absorbs the next intake without a forklift upgrade.
Headroom is not over-buying — it is right-sizing for the equipment's life rather than for its first day. The goal is a network that still has room the year after it is installed.
Cabling and the physical layer
It is easy to focus on switches and access points and forget that they all sit on top of a cabling plant that outlives them. Structured cabling is the least glamorous part of an office network and the most expensive to change, so it deserves attention at design stage rather than after the walls are closed.
The 100 metre rule
Copper Ethernet is specified to 100 metres between the switch and the device, including patch leads. Runs that exceed it need a fibre link or an intermediate switch, which is why closet placement and fibre uplinks are a design decision, not an afterthought. Plan switch closets so no device is more than 100 m of cable away, and use fibre between closets and floors.
Cable grade and spare capacity
Use a cable grade that supports the speeds the network will carry over its life — the same multi-gig future that drives Wi-Fi 7 also raises what the cabling must support. Pull spare cable runs and leave spare fibre strands while the routes are open; adding a cable to an occupied office later is disproportionately expensive. Label everything, and keep a patch schedule. Good cabling discipline is invisible when it works and painfully visible when it does not.
Putting it together
A worked outline for a 150-user office: a managed, VLAN-segmented access layer using LS2-24GT4SFP-P switches with PoE for cameras and access points; fibre SFP uplinks to a central switch; Wi-Fi 6 or Wi-Fi 7 access points placed by density with assisted roaming; a router or firewall at the internet edge; and 20–25% spare capacity throughout. Change the inputs — Wi-Fi 7 everywhere, a second building, an outdoor area — and the design adjusts accordingly.
The value of working in this order is that every choice is justified by a requirement, so nothing is over- or under-bought. It is also exactly how our technical team reviews a BOQ.
Conclusion
Design an office network from requirements outward: count devices, plan VLANs, size the switching and PoE, design the wireless for density, choose the internet edge, and leave headroom. Taken in that order, the design converges on right-sized equipment that scales without re-cabling.
If you are designing or refreshing an office network, send us your device counts and a floor plan. Our team will work through the design and return a priced, right-sized specification.